


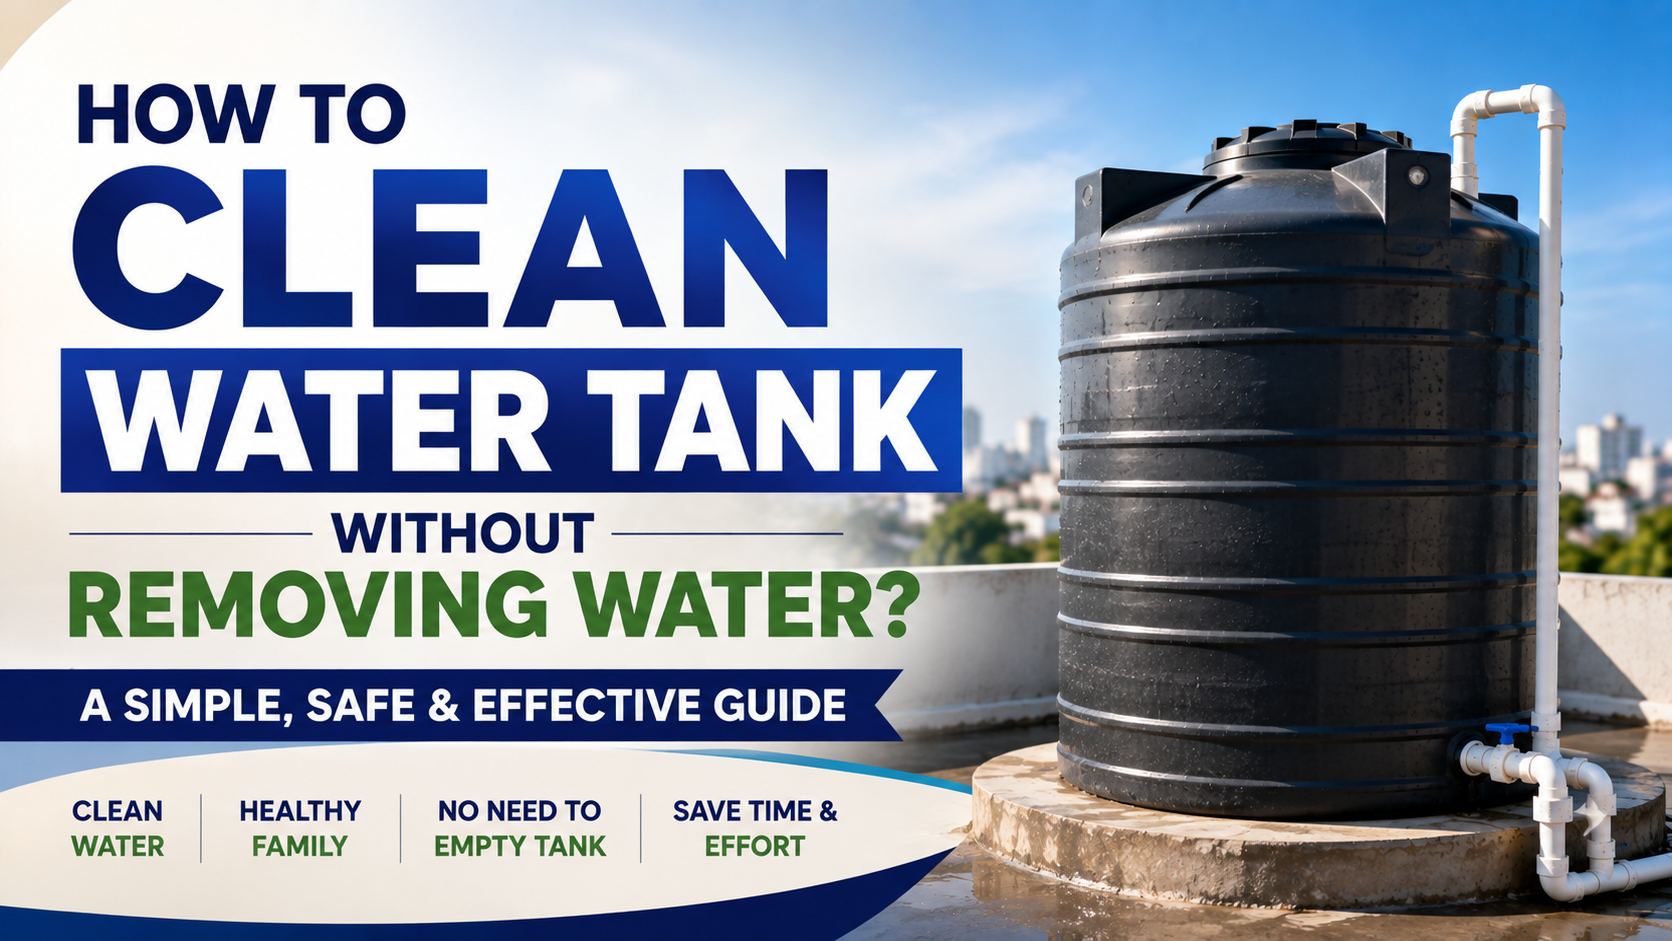
Most people wait far too long to clean their water tank. It’s not laziness, honestly, it’s the dread of the whole ordeal: draining hundreds of litres, watching perfectly usable water disappear down the drain, and then scrambling to refill before the household runs dry. If you live somewhere with water cuts or seasonal shortages, that hesitation makes complete sense.
Here’s the good news. You don’t have to empty the entire tank to get it clean. With the right approach, you can scrub away algae, sludge, and biofilm using only a fraction of the water inside. Below is the exact water tank cleaning procedure I recommend to homeowners, along with the small details that actually make the difference, the mistakes to avoid, and answers to the questions people ask most.
Can You Clean a Water Tank Without Draining It?
Yes. Lower the water to about 20-30% of capacity, add a safe cleaning solution, scrub the walls and floor with a long-handled brush, let it sit for 30-45 minutes, then scoop or pump out the loosened sludge and give it a quick rinse. The whole process takes under two hours and wastes only a small amount of water instead of the full tank.
That’s the short version. The details are where good cleaning happens, so let’s walk through them.
Why Bother Cleaning Without a Full Drain?

A tank that looks fine on the outside can be growing a slimy layer of biofilm on the inside. That film harbours bacteria, gives water an off taste, and slowly clogs your outlet. Cleaning it regularly is non-negotiable for hygiene.
But the full-drain method has real drawbacks:
- It wastes water. A single overhead tank can hold 500 to 2,000 litres. Dumping all of it, several times a year, adds up fast.
- Timing is a headache. You have to catch the tank nearly empty on its own, which rarely lines up with when you actually have time to clean.
- It leaves you dry. Empty the tank at the wrong moment and the household has no water until the supply returns and refills.
Learning how to clean a water tank without removing water sidesteps all three problems. You keep a working reserve, you save water, and you clean on your own schedule.
What You’ll Need Before You Start
Gather everything first, it’s frustrating to be elbow-deep in a tank and realise the brush is too short.
| Item | Purpose |
| Long-handled scrub brush | Reaches walls, floor, and corners without you climbing in |
| Non-toxic tank cleaning solution | Loosens algae, grime, and mineral scale |
| Bucket, scoop, or small submersible pump | Removes settled sludge |
| Wet-dry vacuum (optional) | Fastest way to lift debris and dirty water |
| Rubber gloves and old clothes | Basic protection |
| Torch or headlamp | Spotting grime inside a dim tank |
A wet vacuum isn’t essential, but if you own one, it turns the messiest step into a five-minute job.
Water Tank Cleaning Procedure Without Removing Water
Follow these six steps in order. They work for both plastic and concrete tanks.
Step 1: Lower the Water Level
Drain the tank down to roughly 20-30% of its capacity, either by using up the water normally or by opening the outlet briefly. You want enough room to move a brush around, but a shallow pool of water at the base still helps: it lets the cleaning solution circulate and carries loosened dirt toward the centre where you can remove it.
Step 2: Add a Safe Cleaning Solution
Pour in a recommended dose of a food-safe, non-toxic tank cleaner. These are formulated to break down algae, sludge, and the greasy biofilm that clings to tank walls. If you prefer a household option, a diluted chlorine (bleach) solution works, but measure carefully and rinse thoroughly afterwards, more on the right ratios in the FAQ.
Step 3: Scrub the Interior
Take your long-handled brush and work methodically: walls first, then the floor, then the corners where sludge collects. Pay attention to the slimy patches and any discoloured streaks, that’s biofilm, and it needs mechanical scrubbing to come off. Chemicals alone won’t lift it. This step matters most for keeping stored water safe, so don’t rush it.
Step 4: Let the Solution Do Its Work
Once you’ve scrubbed, leave the cleaning solution to sit for 30-45 minutes. This dwell time softens stubborn grime and lets the disturbed debris settle at the bottom instead of swirling around. Put the kettle on, come back later.
Step 5: Remove the Sludge and Debris
Now clear out the settled muck. Scoop it with a bucket, draw it off with a small submersible pump, or lift it with a wet vacuum if you have one. Keep going until the water at the base runs mostly clear.
Step 6: Quick Rinse
Finish with a fast rinse of clean water to flush out any residue or leftover cleaning solution. Drain that rinse water, and you’re done. Refill the tank and it’s ready to use.
Repeat every 4-6 months. That cadence keeps bacteria in check and prevents heavy sludge buildup, without wasting large volumes of water each time.
Overhead vs. Underground: A Few Differences
The core method is the same, but each tank type has its quirks.
Overhead water tanks heat up under the sun, which speeds algae growth, so the inside walls tend to get slimy faster. When you clean an overhead water tank, check the underside of the lid too; condensation and warmth make it a hotspot for mould.
Underground tanks stay cooler and darker, which slows algae but invites more silt and sediment. Ventilation is poorer, so never lean fully inside a large underground tank without someone else present and the lid wide open for airflow.
Don’t Overlook the Water Tank Lid and Cap
This is the step almost everyone skips. You can scrub the interior spotless, but if the water tank lid doesn’t seal properly, dust, insects, lizards, and bird droppings will find their way in and undo your work within weeks.
While the tank is open, clean the water tank cap and lid too. Wipe away grime, check the rubber gasket or rim for cracks, and make sure it closes flush. A warped or missing water tank cap is one of the most common reasons a “freshly cleaned” tank turns dirty again quickly. If your lid or cap is cracked, replace it, it’s a cheap part that protects everything below it.
While you’re up there, glance at the overflow pipe and inlet, and cover any gaps with fine mesh to block mosquitoes and debris.
Common Mistakes to Avoid
Even a careful cleaning can go sideways. Watch out for these:
- Skipping the scrub. Pouring in cleaner and rinsing it out does almost nothing to biofilm. You have to physically brush the walls.
- Using harsh or unlabelled chemicals. Strong acids or random cleaners can react with the tank material or leave unsafe residue. Stick to food-safe products.
- Not rinsing enough. Leftover cleaning solution taints the water and can irritate skin. Rinse until you can’t smell the product.
- Ignoring the lid and cap. Covered above, but worth repeating, an unsealed tank recontaminates fast.
- Cleaning too rarely. Waiting a year between cleans lets sludge harden and algae take hold, which makes the next clean far tougher.
What to Put in Your Water Tank to Keep It Clean
Prevention stretches the time between deep cleans. Here’s what actually helps:
| Option | How it helps | Notes |
| Chlorine (measured dose) | Kills bacteria and algae | Use sparingly; too much affects taste |
| Food-safe tank cleaning tablets | Slow-release disinfection | Follow the pack dosage for your tank size |
| Copper (trace, natural) | Mild algae suppression | A traditional home remedy, effective in small amounts |
| A tight, UV-blocking lid | Stops light and contaminants | The simplest and most effective “additive” is no additive at all |
The single most underrated tactic is blocking sunlight. Algae needs light to grow, so a well-covered, UV-resistant tank stays cleaner on its own than any additive can achieve.
How Often Should You Clean a Water Tank?
| Situation | Recommended frequency |
| General household use | Every 4-6 months |
| Hard water or visible sediment | Every 3 months |
| Drinking-water tanks | Every 3 months, minimum |
| After illness, flooding, or contamination | Immediately |
Regular light cleaning beats occasional deep cleaning every time. A tank cleaned twice a year rarely builds up the kind of grime that makes the job miserable.
Choosing a Water Tank That’s Easy to Keep Clean
If you’re buying a new tank, a few features make future cleaning genuinely easier:
- Food-grade, UV-stabilised material. Look for high-quality polyethylene. It resists algae and won’t leach into your water.
- A wide lid or manhole. A large water tank lid lets you get a brush into every corner and lift out sludge without contortions. Narrow openings make cleaning a chore.
- A smooth inner surface. Fewer ridges and seams mean fewer places for biofilm to grip.
- Multi-layer, insulated construction. Extra layers block sunlight and heat, keeping water cooler and slowing algae growth.
- A properly sealing cap. Confirm the water tank cap fits snugly, it’s your first line of defence against contamination.
- Right-sized capacity. Match the tank to your household so water turns over regularly instead of sitting stagnant.
For sizing: small families are usually well served by a 500-1,000 litre tank, while larger households often need 1,500 litres or more.
Conclusion
Cleaning your water tank doesn’t have to mean draining every last drop or wasting a day. Lower the level, scrub properly, clear the sludge, and seal it back up with a clean lid and cap, that’s the whole game. Do it every four to six months and you’ll keep your water fresh, your tank hygienic, and your household supply intact, all while wasting almost nothing. The best cleaning routine is the one that’s easy enough that you’ll actually stick to it, and this one is.
FAQs
How often do tanks need to be cleaned?
For most homes, every 4-6 months keeps water safe and prevents heavy buildup. Drinking-water tanks and homes with hard water should aim for every three months, and you should clean immediately after any contamination or flooding.
What is the right size of water tank for a household?
Base it on daily consumption. A small family of two to four people is comfortable with a 500-1,000 litre tank. Larger households, or homes that face long water cuts, are better off with 1,500 litres or more so they always keep a reserve.
Which plastic is good for a water tank?
Food-grade, UV-stabilised polyethylene is the standard. It’s safe for potable water, resists algae, and holds up to sun exposure without degrading. Avoid low-grade or recycled plastics for anything you’ll drink or cook with.
What can I put in my water tank to keep it clean?
A measured dose of chlorine or a food-safe cleaning tablet controls bacteria and algae between cleans. But the most effective measure is a tight, light-blocking lid, cutting off sunlight does more to prevent algae than any additive.
How to empty water from a water tank?
Use the outlet or drain valve at the base to let water flow out, or fit a small submersible pump if there’s no low drain point. For the no-drain cleaning method, you only lower the level to 20-30%, you never fully empty it.
How to clean a water tank without removing it?
Clean it in place: reduce the water to 20-30%, add a safe cleaner, scrub the walls and floor, let it sit 30-45 minutes, remove the loosened sludge with a scoop or pump, and rinse. There’s no need to detach or relocate the tank.