Your water tank holds the water your family drinks, cooks with and bathes with. But most of us keep it shut for years. And that’s where the trouble starts.
Dirty water is not a minor issue. Contaminated drinking-water is estimated to cause around 505 000 diarrhoeal deaths each year. Unsafe water, sanitation and hygiene are estimated to be associated with around 1 million deaths annually. A tank that is never cleaned can become a silent source.
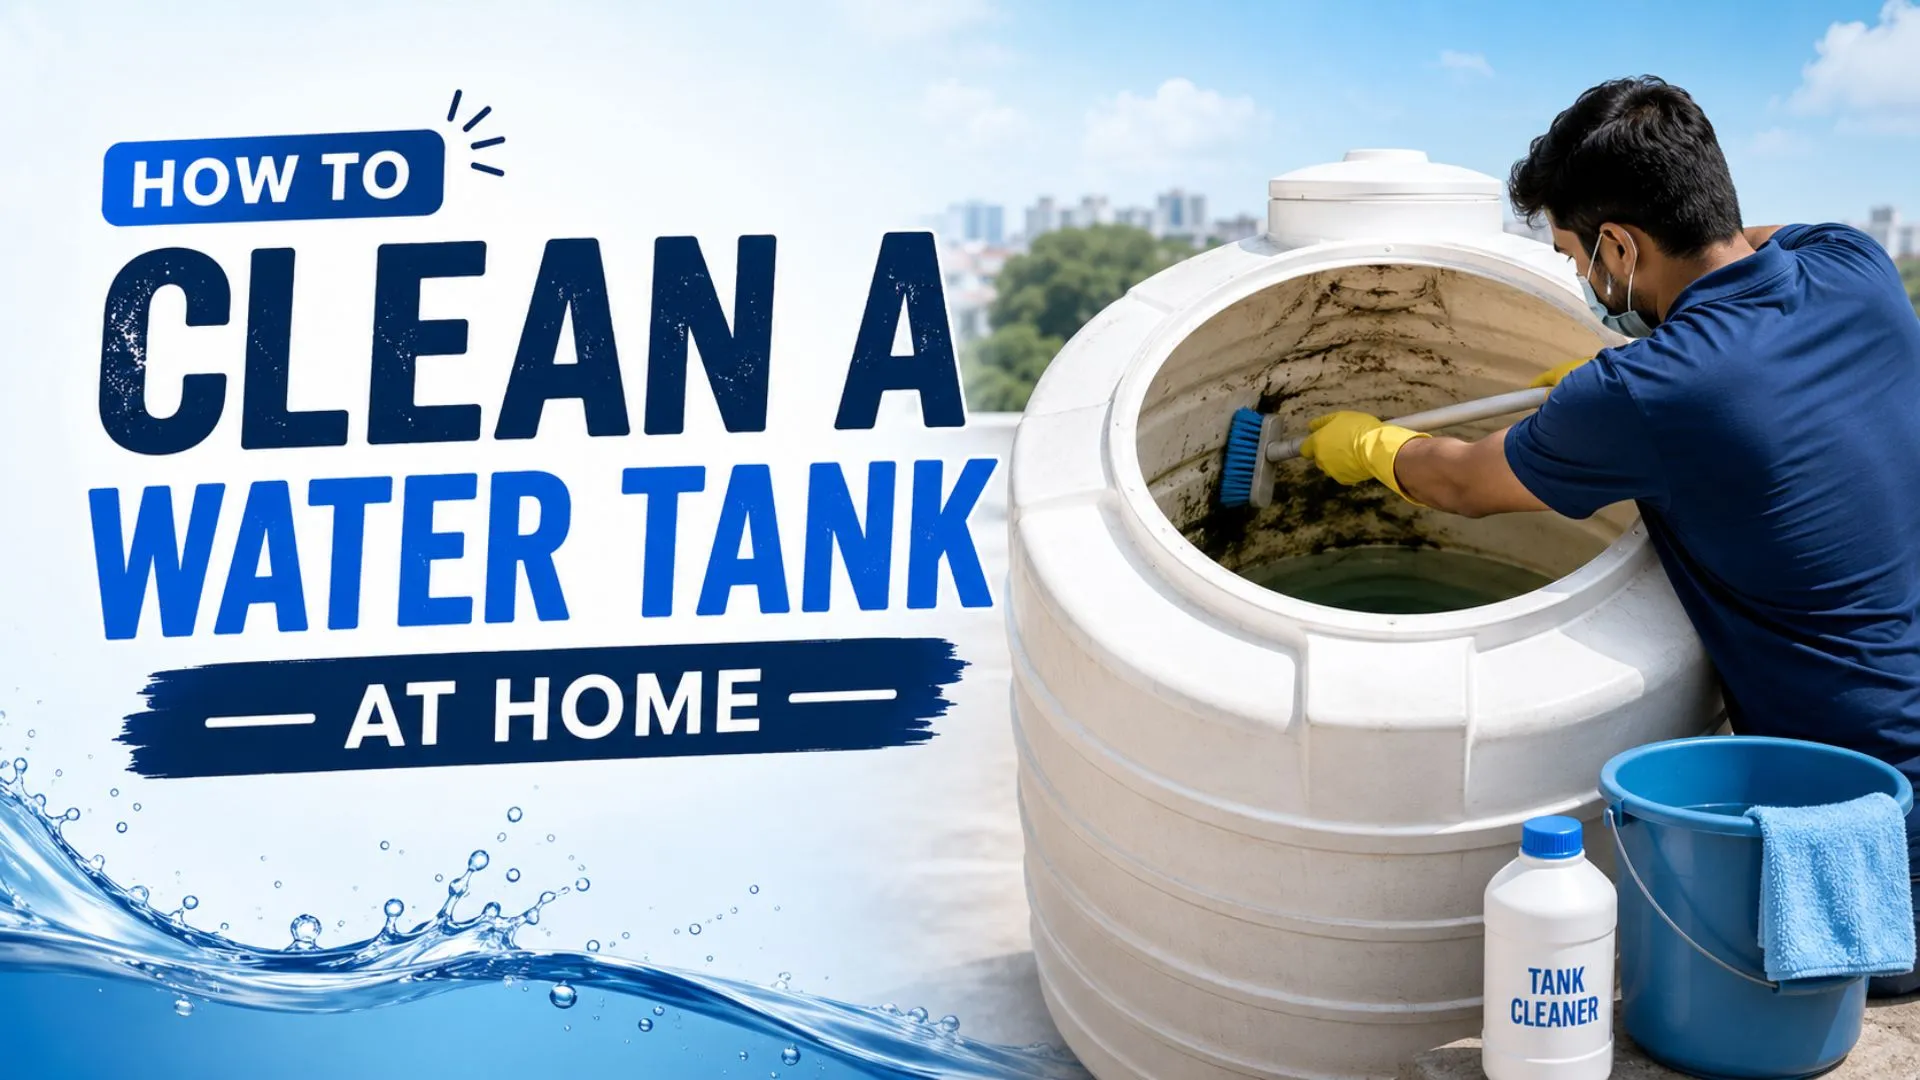
The good news is that cleaning a water tank at home is easy. It can be done yourself with a few hours, basic tools and the right method for your tank. This guide will take you through each step — safely.
Why You Should Actually Clean Your Water Tank
Water tanks are closed, warm and dark reservoirs. That’s almost an ideal home for bacteria, algae and biofilm. Slime lines the walls. Microbes grow. Sediment lies at the bottom for months.
Contaminated stored water can lead to serious illness. The same WHO data says that water contaminated with microbes can transmit diarrhoea, cholera, dysentery, typhoid and polio. There’s also Legionella, a bacteria which causes Legionnaires’ disease -a serious lung infection you can get by breathing tiny droplets of water from a shower or a tap. WHO
Here’s the part most guides miss: Legionella grows well in tepid water. It grows fastest between 20 and 45 degrees Celsius, reproducing quickly when the water is still. It does not die at 20°C but goes dormant and is killed rapidly only above about 60°C. Warm, stagnant, neglected tanks are the actual risk, which is why a tank sitting in the sun all afternoon often ends up right inside that danger zone.Acornenvironment
A clean tank protects your home beyond health. Rust and sediment get into your pipes, clogging filters, destroying your geyser and washing machine, and dropping the water pressure. Cleaning costs much less than repairs or a trip to the hospital.
Signs Your Water Tank Needs Cleaning Now
Your tank usually warns you before things get bad. Watch for these:
Taste or smell changes – metallic, earthy, “swimming pool,” or rotten-egg notes. Clean water has almost no taste or smell.
Cloudy or coloured water – brown hints at rust or silt; green points to algae.
Floating bits or sediment -particles in your glass or grit at the bottom.
Slimy or green tank walls – visible biofilm or algae when you open the lid.
Weak water pressure – debris may be clogging the outlet or pipes.
More frequent stomach upsets at home with no other clear cause.
If you spot any of these, don’t wait for your next scheduled clean. Act now.
How Often Should You Clean a Water Tank?
A simple rule works for most homes:
- Every 6 months for tanks supplying drinking and cooking water. This is the safe default.
- Every 3–4 months if you have hard water, frequent supply cuts, lots of dust, or a tank in direct sunlight.
- At least once a year as the absolute minimum — never stretch it past 12 months.
- Immediately if you notice any warning sign above, after a supply contamination notice, or after the tank has stood empty for a long time.
Tie it to a season you’ll remember. In India, many households clean just before the monsoon and again before peak summer, when warm water speeds up algae and bacterial growth.
What You’ll Need: Tools & Cleaning Materials
Gather everything first so you’re not running around with a half-drained tank. Here’s the full checklist.
| Category | Items |
| Protective gear | Rubber gloves, face mask, safety goggles, non-slip footwear |
| Cleaning tools | Long-handled stiff brush, scrubbing sponge or scouring pad, plastic bucket, mug or scoop |
| Water removal | Hose pipe; wet/dry vacuum or small submersible pump for leftover water (large tanks) |
| Cleaning agents | Mild liquid detergent; baking soda; white vinegar |
| Disinfectant | Plain unscented household bleach (5–6%) or bleaching powder (calcium hypochlorite) or food-grade hydrogen peroxide |
| Optional | Pressure washer, torch/flashlight, water-testing strips |
Avoid harsh acids, scented cleaners, and abrasive metal brushes — they leave residue or scratch the tank, and scratches give bacteria more places to hide.
Safety First — Read This Before You Start
This is the section both popular guides barely touch, and it matters most.
Never climb fully inside a tank. Large or underground tanks are confined spaces. Cleaning chemicals and stagnant water release fumes, and oxygen can drop to dangerous levels. People have died doing this. Clean from the outside using long brushes and sprayers wherever possible.
A few more rules:
- Work with a second person nearby, especially for underground sumps.
- Keep the lid open for ventilation and use a torch — never a flame — to see inside.
- Never mix bleach with other cleaners, especially anything containing acid or ammonia. It creates toxic gas.
- Wear gloves, a mask, and goggles the entire time.
- Turn off the inlet and any pump before you begin.
If a tank is deep, very large, or hard to reach safely, stop and call a professional. No clean is worth your safety.
How to Clean a Water Tank at Home: 7 Steps
This will work on most home tanks. Adjust scale to your tank size.
Step 1. Turn off the supply and drain the tank
Switch off the pump and close the inlet valve. Open the outlet or drain valve and drain the tank thoroughly. “Don’t pour it away. Use the remaining water in your garden. Scoop out the last few cm that will not drain or use a wet vacuum.
Step 2 – Remove loose sludge
Remove the silt and debris that sits at the bottom, the sludge. Dump it in a bucket. If you can get this layer out first, it means your scrubbing actually cleans the walls, not just moves mud around.
Step 3: Wash the walls and the floor
Make a paste of baking soda and a little water or mild detergent. Spread it all over the inner walls and floor. Scrub all surfaces, particularly corners, seams and the floor with a long-handled brush. Don’t climb in, reach in through the opening.
Step 4: Remove Stubborn Algae and Stains
If you have green algae or stubborn stains, spray a mixture of white vinegar and water, let it sit for 10 to 15 minutes and scrub again. Vinegar breaks down grime and mineral film without harsh fumes. Repeat on any stubborn spot.
Step 5: Rinse off the dirt
Hose down all surfaces and drain out all dirty water tank Cap. Repeat rinsing if the water remains cloudy. Before you want clean, bare walls, disinfect.
Step 6: Sanitise
Now kill what scrubbing left in its wake. Use a solution of bleaching powder or bleach (see the dosage table below) and coat the walls and leave for 30 minutes to 2 hours. This is the step that actually makes the water safe, not just pretty.
Step 7: Wash and refill
Drain the disinfectant completely. Rinse in clean water (usually 2 to 3 times) until no smell or taste of chlorine remains. Then turn the drain off, refill it and restore the supply. Write down the date so you don’t get off track.
Cleaning Different Types of Water Tanks
Most guides give one method for every tank. That’s a mistake — the material changes how you clean. Here’s how to adapt.
| Tank type | What to watch for | How to adapt |
| Plastic (overhead / loft) | Scratches harbour bacteria; algae if light gets in | Use a soft brush, not metal. Keep the lid sealed and opaque |
| Concrete / RCC underground sump | Cracks, porous walls, rough surface, confined-space risk | Scrub firmly; check for cracks; clean with a partner; never enter alone |
| Metal / galvanised | Rust and corrosion | Treat rust spots; avoid acids that worsen corrosion; rinse fully |
| Stainless steel | Easiest to clean; can still scale | Mild detergent and a soft pad; vinegar for water spots |
| Overhead (rooftop, sun-exposed) | Heat speeds algae and Legionella growth | Clean more often; insulate or shade; keep it covered |
For underground sump tanks, the order is the same, but treat safety as the priority. Ventilate well, use a pump for leftover water, and stay outside the tank.
Disinfecting the Tank: Bleach, Bleaching Powder & Natural Options
Disinfection is non-negotiable for drinking-water tanks. Pick one option and follow it carefully.
| Disinfectant | Rough home guide | How to use | Best for |
| Bleaching powder (calcium hypochlorite) | ~50 g per 1,000 litres | Dissolve in water, spread over walls, leave ~1 hour, scrub, then rinse | Most home tanks |
| Household bleach (5–6%, unscented) | Make a strong wall solution (a few capfuls per bucket); follow the product label | Coat surfaces, leave 30–60 min, then rinse thoroughly | Quick disinfection |
| Food-grade hydrogen peroxide | Per product label | Apply, wait, rinse | Low-odour, gentler option |
| Vinegar + baking soda | Generous amounts | Scrub and deodorise (cleans well but does not fully disinfect) | Non-drinking tanks, light jobs |
Three rules that matter more than the exact dose:
- Use plain, unscented bleach only — never scented or “splash-less” types.
- Rinse until there is no chlorine smell. Residue isn’t safe to drink.
- If the water is for drinking and you’re unsure, test it with strips or a lab, or boil drinking water for the first day after cleaning.
Expert tip: Disinfectant needs contact time to work. Wetting the walls and rinsing straight away does almost nothing. Let it sit the full 30–60 minutes.
How to Remove Hard-Water Scale and Sediment
Hard water leaves a chalky white or yellow crust inside the tank. Plain detergent won’t shift it.
- Spray white vinegar (or a vinegar-water mix) directly on the scale and leave it 20–30 minutes. The acid dissolves the mineral deposits.
- Scrub with a stiff brush. Reapply on thick spots.
- For very heavy buildup, repeat rather than reaching for harsh acids, which can damage the tank.
- Rinse fully afterward.
A simple inlet filter or sediment trap will dramatically slow how fast this comes back.
How Long It Takes & What It Costs (DIY vs Professional)
Neither popular guide tells you this, so here it is plainly.
| DIY | Professional service | |
| Time | 2–4 hours for a typical home tank | 1–2 hours (faster equipment) |
| Cost | Mostly your time + a few cleaning supplies | Varies by city and tank size — get a couple of quotes |
| Best when | Tank is accessible and a manageable size | Tank is large, underground, deep, or badly fouled |
DIY makes sense for most overhead and loft tanks. For big underground sumps or anything that needs entry, the professional route is safer and usually worth it.
Common Mistakes to Avoid
- Skipping the disinfection step — clear water can still be unsafe.
- Rinsing too little — leftover bleach taste means leftover chemicals.
- Climbing into a large or underground tank alone — a serious safety risk.
- Using metal brushes or harsh acids — they scratch and corrode.
- Mixing cleaning chemicals — never combine bleach with anything else.
- Cleaning once and forgetting — without a schedule, you’re back to square one in months.
After Cleaning: Flush, Test, and Get Back to Safe Water
You’re not quite done when the tank refills.
- Flush your taps. Run every tap and the shower for a minute or two to push fresh water through the pipes and clear any loosened debris.
- Check the smell and taste. A faint chlorine hint should fade within a day. A strong one means rinse again.
- Test if it’s for drinking. Use a water-test strip or a lab sample to confirm no harmful bacteria remain.
- Boil drinking water for the first day if you want extra assurance.
How to Keep Your Tank Cleaner for Longer
A little prevention stretches the time between cleans.
- Keep the lid tightly closed and opaque. No light, no algae; no gaps, no insects or dust.
- Fit an inlet filter or mesh to stop debris entering.
- Shade or insulate sun-exposed tanks to keep water cool and below Legionella’s growth zone.
- Use a first-flush diverter if you collect rainwater.
- Inspect monthly — a quick look and sniff tells you a lot.
- Don’t let water sit unused for long. Stagnant water grows microbes fastest.
When to Call a Professional
Do it yourself for most accessible home tanks. Call a pro when:
- The tank is very large, deep, or underground and needs entry.
- You see heavy rust, cracks, or structural damage.
- The water tested positive for bacteria even after cleaning.
- You simply aren’t confident doing it safely.
Trained cleaners carry pumps, vacuums, and protective equipment that make a hard job safe and fast.
Frequently Asked Questions
1.How do I clean a water tank without draining it completely?
You can’t, not properly. Sediment and bacteria settle at the very bottom, so a partial clean leaves the worst of it behind. Always drain fully.
2.Is bleach safe to use in a drinking-water tank?
Yes, when you use plain unscented bleach in the right amount and rinse thoroughly afterward. The danger is leftover residue, so rinse until there’s no chlorine smell. Never mix bleach with other cleaners.
3.Can I clean a water tank without any chemicals?
For light jobs and non-drinking tanks, baking soda and vinegar clean and deodorise well. But they don’t fully disinfect. For drinking water, finish with a proper disinfectant.
4.How long after cleaning is the water safe to drink?
Once the tank is rinsed until odour-free and refilled, flush your taps and let it settle. If it’s for drinking, test the water or boil it for the first day to be safe.
5.Can a dirty tank really make us sick?
Yes. Contaminated stored water is linked to typhoid, cholera, dysentery, diarrhoea, and Legionnaires’ disease. Regular cleaning is direct protection for your family.
6.Why does my tank grow algae so fast?
Algae need light and warmth. A clear or cracked lid, or a tank baking in the sun, lets it bloom. Seal the lid and shade the tank.
7.Should I get inside the tank to clean it
Avoid it. Large and underground tanks are confined spaces with real suffocation and fume risks. Clean from outside with long-handled tools, and call a professional if entry is unavoidable.