

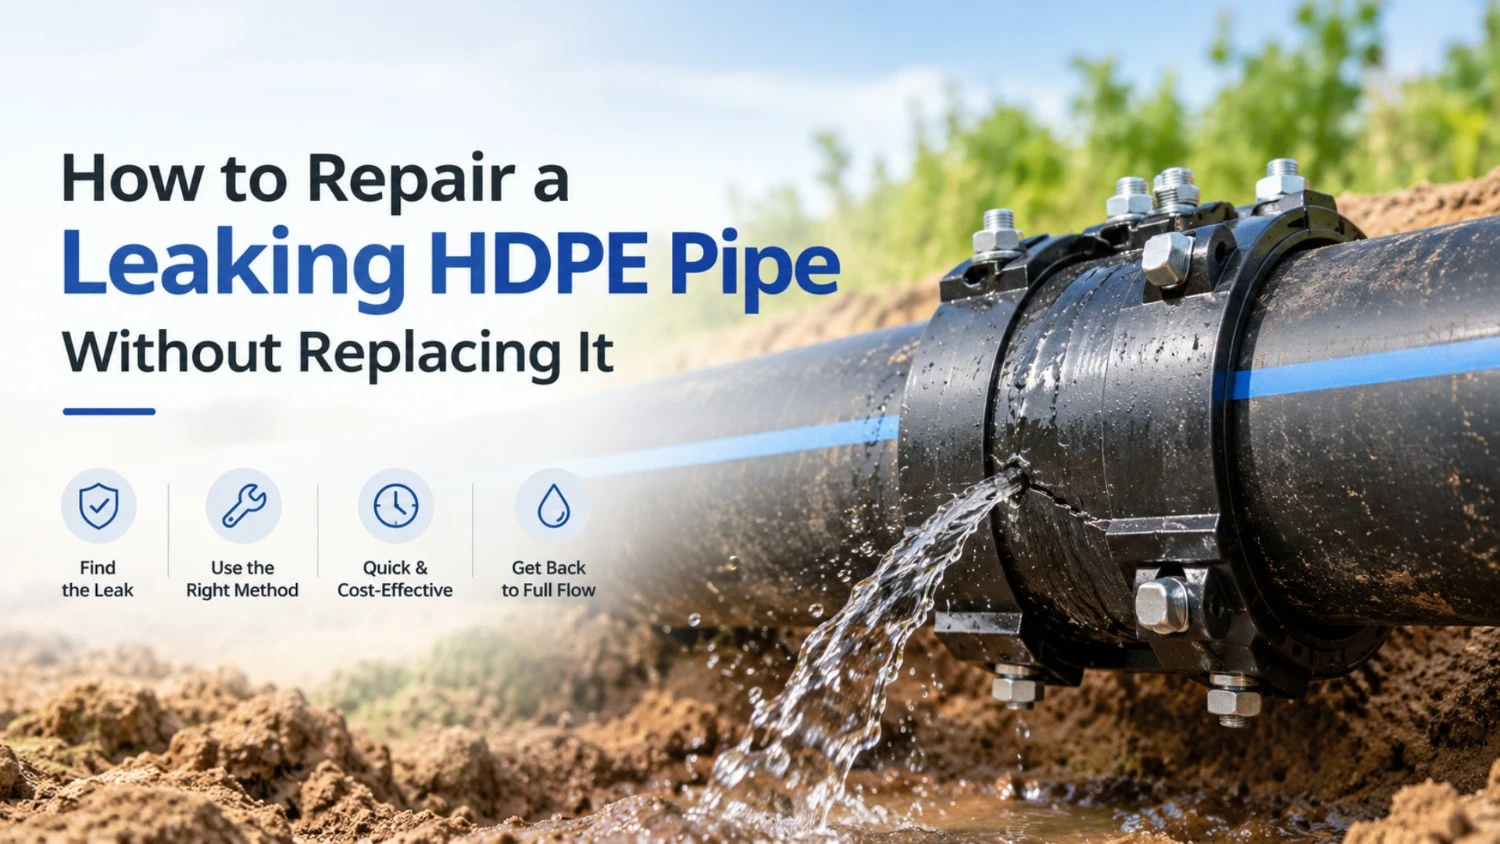
Most HDPE leaks don’t need a new pipe. Yet you’d be surprised how often a site orders forty metres of fresh coil for what turns out to be one bad saddle. Isolate it, cut out or cover the damaged bit, fuse or clamp, and the line is usually back in service the same day.
Can a leaking HDPE pipe be repaired without replacement?
Yes, and in most cases it should be. HDPE pipe leak repair means fusing or clamping new PE onto the old pipe. Glue doesn’t come into it. Polyethylene has a slippery, waxy surface that nothing really sticks to, which is why M-seal, epoxy and Teflon tape fail on pressure lines, sometimes within days. What actually works is electrofusion couplers and saddles, compression fittings on the smaller sizes, and stainless repair clamps if you need to buy time. Your pick depends on pipe OD, PN class or SDR, and the kind of damage. A nail hole is not the same job as a butt weld that’s let go.

Water leak: what to do before you start digging
Close the nearest upstream valve first. Then photograph the wet patch and note the time, because somebody will ask later why the pump ran double hours. No valve close by? A squeeze-off tool of the right size will pinch the pipe shut. Keep it away from fittings, and don’t squeeze that same spot again later.
Read Also – The best way to keep HDPE pipelines safe is with HDPE spigot fittings
How a water leak locator performs on HDPE
This is the bit that trips people up. Plastic pipe swallows leak noise, so a water leak locator that hears a cast iron leak easily can go almost silent on a 90 mm HDPE line. No sound doesn’t mean no leak.
| Detection method | Works best for | Limitation on HDPE |
| Ground microphone / listening stick | Shallow, higher-pressure lines | Signal fades fast; you need to be close |
| Acoustic correlator | Runs between two access points | Short range on plastic; hydrophones help on bigger mains |
| Tracer gas (5% hydrogen, 95% nitrogen) | Tiny or low-pressure leaks underground | Needs injection kit and a trained operator |
| Thermal imaging | Leaks under slabs or paving | Needs a temperature difference |
| Pressure decay or step test | Proving a leak exists, narrowing the zone | Won’t pinpoint the spot |
Honestly, start at the joints. Bad butt welds, compression fittings nobody fully tightened, tapping saddles: that’s where HDPE gives up, far more than the pipe wall. Leak detection and plumbing drawings go together here. If the as-built shows every fitting, you dig one pit. If it doesn’t, maybe four.
Which HDPE pipe leak repair method should you use?
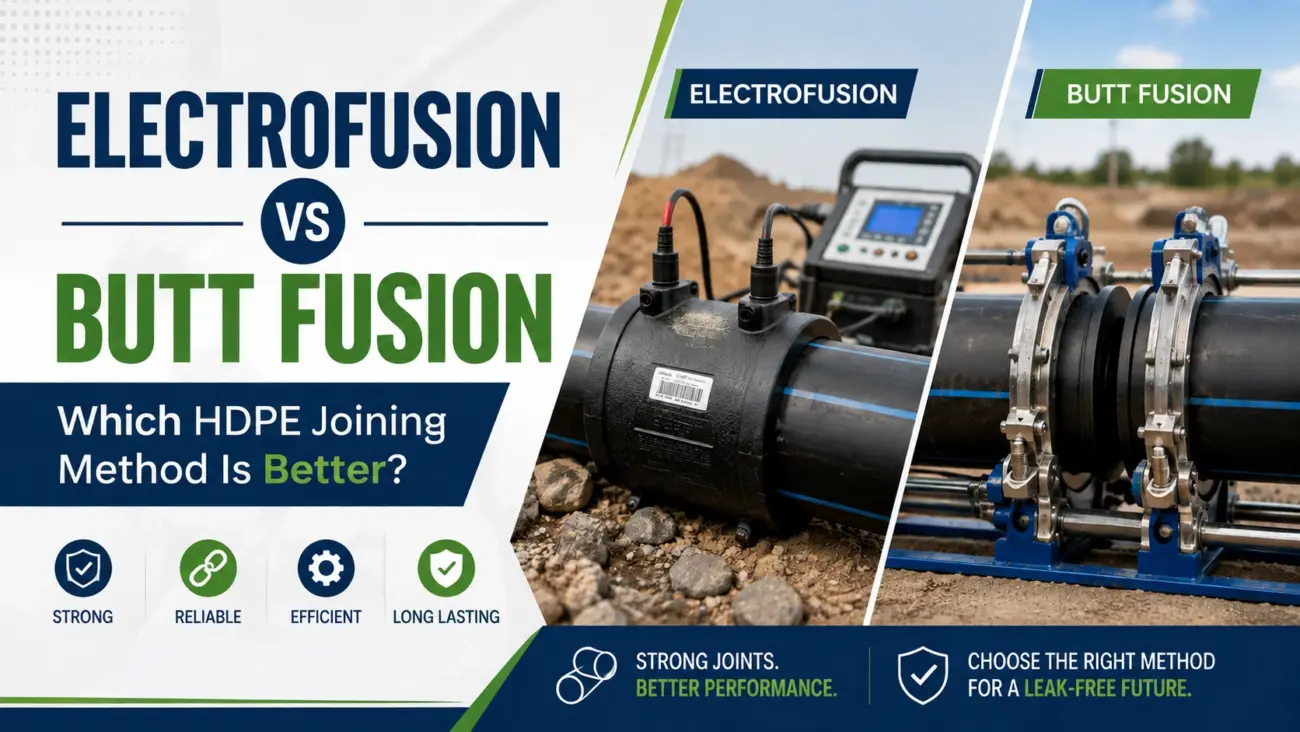
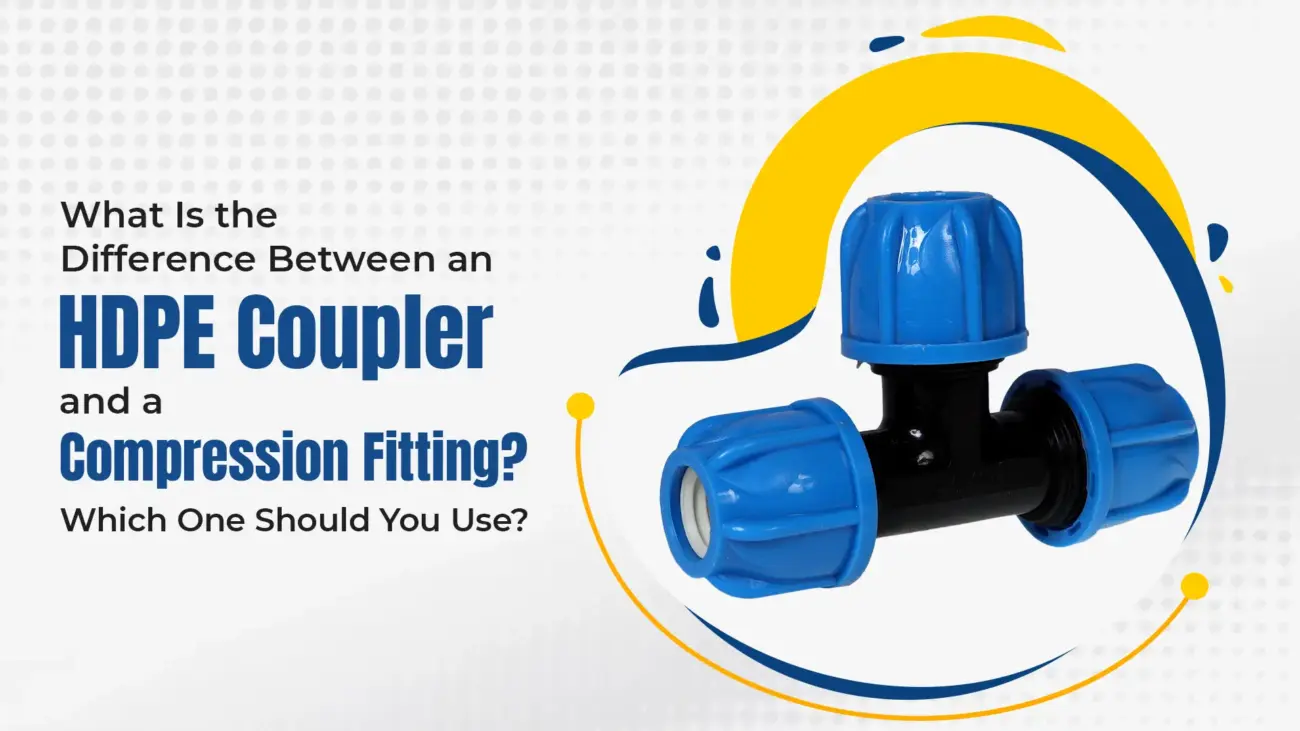
On a pressure line you want fixed for good, go with HDPE electrofusion fittings. Compression fittings are fine up to around 110 mm, and they’re quick. Clamps? Use one to get water flowing again, then come back and do it properly, unless the maker rates that clamp for permanent use at your pressure.
| Type of damage | Pipe size | Recommended repair | Permanent? |
| Pinhole or small puncture (nail, rock, stray drill bit) | 63 mm and up | Electrofusion repair or patch saddle | Yes |
| Gouge deeper than 10% of wall thickness, or a crack | Any | Cut out the section; spool piece with two electrofusion couplers | Yes |
| Leaking compression joint | 20 to 110 mm | Re-seat; replace O-ring, grip ring or the fitting | Yes, if fitted correctly |
| Failed butt weld | 90 mm and up | Cut out the weld; spool piece plus electrofusion couplers | Yes |
| Emergency leak, no power on site | Any | Full-circle stainless steel repair clamp | Temporary |
| Gravity drain or sewer line | 110 mm and up | Electrofusion coupler, or banded rubber coupling | Yes, for non-pressure lines |
That 10% figure is a rule of thumb used widely in the trade. Measure the gouge with a gauge.
Drain leak repair on HDPE sewer and storm lines
Drains are more forgiving since there’s hardly any pressure inside, and a rubber coupling with stainless bands is often enough for drain leak repair. The real question is why it leaked. Usually the pipe has settled or a joint has pulled apart, so sort out the bedding before you backfill.
How to repair HDPE pipe with electrofusion couplers, step by step
Inside an electrofusion coupler sits a wire coil. The control box heats it and the coupler and pipe melt into each other. For the usual cut-out-and-spool job, go in this order:
- Isolate and drain. The fusion area must be fully dry; even a small drip spoils the joint.
- Cut out all the damaged pipe, square, with a proper cutter, and cut a spool piece of matching SDR.
- Check ovality. Coiled pipe often isn’t round, so use rounding clamps if needed.
- Mark insertion depth on both ends, half the coupler length.
- Scrape, properly, with a rotary or hand scraper, taking off roughly 0.1 to 0.2 mm of oxidised skin. Sandpaper is not scraping.
- Wipe with isopropyl alcohol (90% or higher). After that, hands off.
- Push in to the marks and clamp, with no bending stress on the joint.
- Scan the barcode, run the cycle, check the indicators have come up.
- Leave the clamps on for the full cooling time printed on the fitting.
- Pressure test as per project spec.
Ask any electrofusion trainer where joints go wrong and most will say step 5. An unscraped pipe looks perfectly clean, the machine beeps, everyone’s happy. A month later it peels open. On mixing HDPE pipe fittings from different brands: that’s fine as long as the coupler covers your pipe’s SDR and its pressure rating is equal or higher. Most Indian water supply pipe is made to IS 4984, so read the PN marking on the pipe and match it.
Common HDPE repair mistakes that cause repeat leaks
With leaky pipes, plumbing callbacks on HDPE nearly always come from the same few errors. Epoxy or tape patches are the classic; they hold for a week until the first pressure surge. Close behind is the blowtorch, which some fitters still use to “soften and seal” the pipe. It seals nothing. It just damages the PE around the leak. Then there’s skipping the scraper, testing before the joint has cooled, and putting a PN 6 fitting on a PN 10 line. The big one, though, is fixing a leak without asking why it happened. A sharp stone under the pipe, a bend with no anchor, a stretch left in the sun for years. Ignore that and the next leak turns up a metre away.
Field tips that save a second visit
Keep a basic kit in the vehicle: couplers and saddles in your common sizes, a scraper, IPA wipes, clamps, and a generator that can actually run your control unit. Don’t open fitting bags until you need them. And note every repair with the fitting batch number, so when the line leaks again you know whether to blame the batch or the installer.
Frequently asked questions
Can you glue HDPE pipe to fix a leak?
No. Glue and epoxy don’t bond to HDPE in any lasting way, least of all under pressure. Fuse it, or use a mechanical fitting.
How long does an electrofusion repair last?
Done right, as long as the pipe itself. HDPE water systems are commonly designed for around 50 years of service.
Can I repair an HDPE pipe with water still in it?
Not by fusion, because the joint area has to be dry. Drain the line and hold back residual water with a squeeze-off tool or a plug.
Are compression fittings as reliable as electrofusion fittings?
Up to about 110 mm, a properly tightened compression fitting is reliable. For bigger pipe, or ground that moves, electrofusion is the safer bet.
What is the best water leak locator for plastic pipe?
Tracer gas usually finds HDPE leaks most accurately, since plastic dampens sound. Ground microphones still work if you’re close to the leak.
When should you call a specialist instead of fixing it yourself?
For mains above 160 mm, gas lines, or any job where you don’t have a calibrated electrofusion machine and a trained operator.
Final word
You rarely need to replace an HDPE line to stop a leak. Find the real leak point, match the repair to the damage, and don’t rush scraping or cooling. Then restock your kit before the next call.