

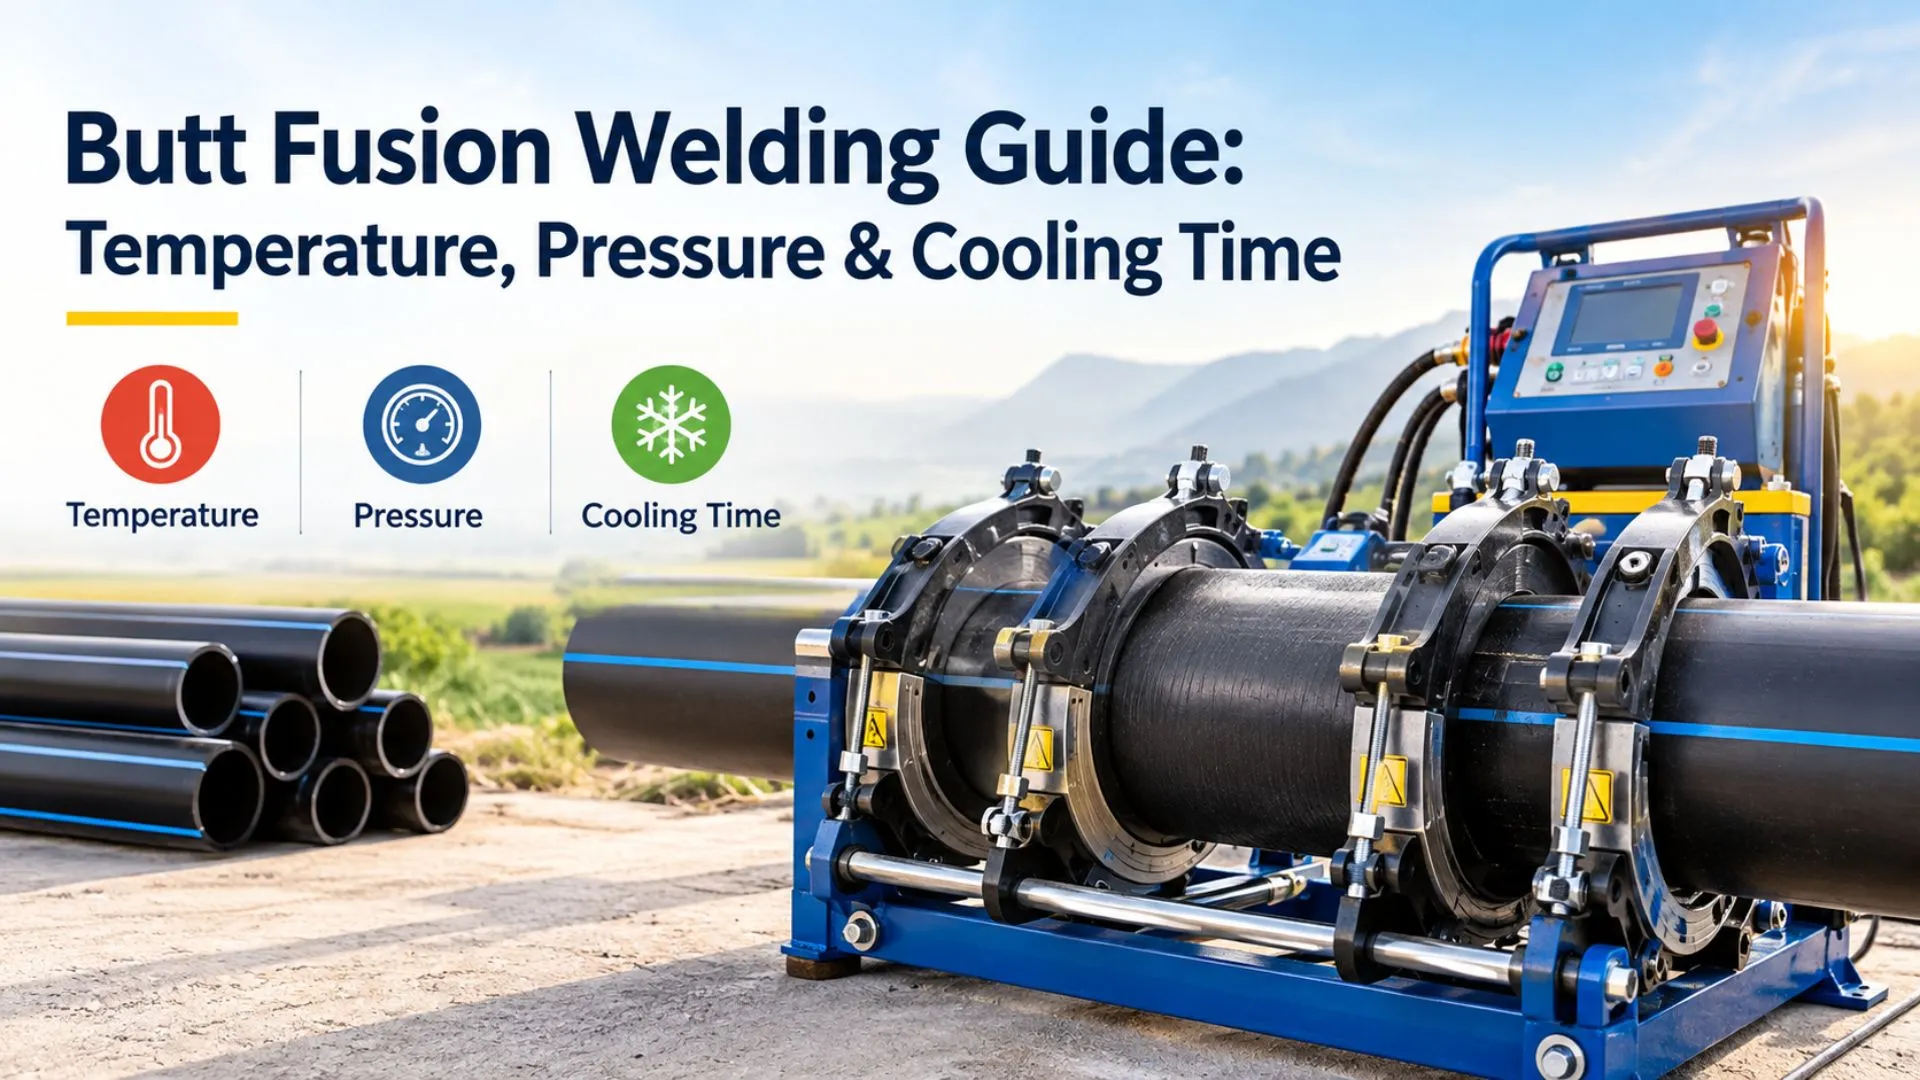
Butt fusion joints may appear visually perfect, however they will frequently fail a bend test. The majority of failures can be attributed to three variables, which include the heater temperature, the interface pressure and/or the cooling time. This document provides information on how crews use the butt fusion welding parameters defined by DVS 2207-1, ASTM F2620, and ISO 21307, as well as those field practices used to help ensure that a joint will not leak for many years after the trench has been backfilled.
What Is HDPE Butt Fusion?
A butt fusion method for joining two pipe ends involves heating the pipe ends using a flat plate (approximately 200-230 degrees Celsius), pressing the two heated ends together under controlled pressure, and allowing the two ends to cool. During this process, the molten polymers that are present in each of the two pipes become intertwined with each other at the point where the two pipes meet. If the butt fusion process has been performed properly, the resulting joint will be just as strong as the pipe itself and will require no additional parts such as couplers, glues, or gaskets.
In addition to being used as a standard for all HDPE pipe installations in water mains, gas distributions, mining slurry lines, and landfill leachates, this is the reason why butt fusion has become the most widely accepted installation technique. All welds are completed using the same series of operations; facing, aligning, creating beads (bead up), soaking the joint with heat, changing over from heating to fusing, fusing the joints together, and then allowing them to cool down. If you miss or rush through any of these operations your joint will be weakened.
HDPE Pipe Joining Methods Compared
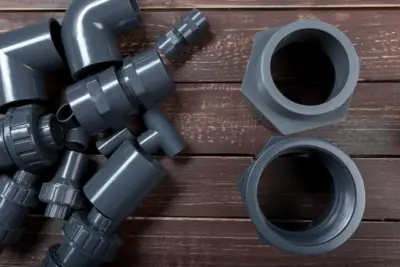
Butt fusion may not always be the best option. Below is a comparison of butt fusion with other popular HDPE pipe joining techniques:
| Method | How It Works | Best For | Main Limitation |
| Butt fusion | Heater plate + axial pressure | Long runs, same SDR, 63 mm and up | Needs matching wall thickness and room for the machine |
| Electrofusion | Coupler with embedded heating wire | Tie-ins, repairs, tight trenches | Fittings cost more; scraping is critical |
| Socket fusion | Heated socket and spigot | Small diameters (about 20–125 mm) | Not practical for large pipe |
| Mechanical (flange/compression) | Bolted or clamped with gaskets | Valves, pumps, connections to other materials | Can leak if not torqued or restrained properly |
A straight section of the same type of pipe will provide the best cost per joint and most dependable results using butt fusion. However, if there are two fixed end pieces of pipe that need to be closed off or if a machine cannot access the area, then electrofusion is the preferred method.
Butt Fusion Welding Parameters at a Glance
Butt fusion welding parameters vary according to different standards. Low-pressure DVS method is primarily used in Europe and most parts of Asia. High-pressure ASTM method is mainly used in North America.
| Parameter | DVS 2207-1 (Low Pressure) | ASTM F2620 (High Pressure) |
| Heater plate temperature | 200–220 °C (thicker walls run cooler) | 400–450 °F (204–232 °C) |
| Interfacial fusion pressure | 0.15 N/mm² (≈22 psi) | 60–90 psi (0.41–0.62 MPa) |
| Heat soak pressure | ≤0.02 N/mm² (near zero) | Reduced to drag pressure |
| Changeover | As short as possible (table limits) | As short as possible |
| Cooling under pressure | Per wall-thickness table | ~11 minutes per inch of wall |
ISO 21307 is positioned between both. There are three processes specified in this standard, namely: single low pressure, dual low pressure and single high pressure. The selection of which process to use will be based on your project specifications. Choose only one standard and apply it to the entire weld. Do not combine requirements from different standards.
What Temperature Should You Use for HDPE Butt Fusion?
A heat plate temperature range of 200-220 °C is recommended by DVS, and 204-232 °C (400-450 °F) is recommended by ASTM F2620. Many crews will set their target temperature at approximately 220 °C for thinner walls and reduce the temperature towards 200 °C as wall thickness increases.A single adjustment to the controller will not complete your work. Before beginning each day, check the temperature on the surface of the plate using a calibrated surface pyrometer in multiple locations on each face. Cold areas that are undetected by the controller can be caused by a damaged PTFE coating, a malfunctioning heating element, or cold air blowing across the plate.
Temperature errors produce predictable defects:
The temperature is too low; only the outer layer of the material will melt. A cold joint results from this process and while it can look good to the naked eye, it will often fail when subjected to stress.The polymer will begin to deteriorate when it becomes too hot; the melted material will stick to the metal plate, and the resulting weld may be weak and prone to breaking.In cold weather, the answer is a shelter or welding tent, not a hotter plate.
How to Calculate Butt Fusion Pressure (Including Drag)
The hydraulic machine’s gauge displays cylinder pressure rather than the pressure at the face of the pipe. You can determine the proper setting of your gauge using the following equation:
Gauge pressure equals the product of interfacial pressure times pipe annular area divided by machine cylinder area plus drag pressure.Worked example: 250 mm SDR 11 pipe (wall thickness 22.7 mm) welded under DVS.
Annular area = π × (250 − 22.7) × 22.7 ≈ 16,210 mm²
Force needed = 16,210 × 0.15 ≈ 2,432 N
If your cylinder has an overall surface area of 1,000 square millimeters, which is just a random number to use as an example, you would then require a pressure of 2.43 Newtons per square millimeter (N/mm²) or approximately 24.3 bars.
Add the measured drag pressure (such as 4 bar) and the gauge reading (approx. 28.3 bar)
The amount of force required to move the carriage forward (drag) should be measured prior to joining each section of pipe. When more pipe is added to the total length of the pipe string being joined, the carriage will require more force to move forward and therefore the drag will increase. If the gauge is calibrated based upon the drag measurement of the first joint, then the subsequent joints will receive less fusion pressure than is necessary.
The pressure changes through the weld cycle:
Bead-up: full fusion pressure, held until the specified bead forms.Heat soak: pressure is reduced to almost zero (only drag) to allow the heat to transfer to the wall.Fusion – After being cooled, the pressure will increase steadily back to the original fusion pressure and remain at this level.
How Long Should an HDPE Butt Fusion Joint Cool?
The joint must remain under fusion pressure during its entire cooling period. For ASTM F2620, this cooling period is approximately 11 minutes per inch of the pipe wall’s thickness. On the other hand, for DVS 2207-1, the cooling period can be found in a wall-thickness chart, which has significantly more time than the cooling period used by ASTM F2620.The table below shows suggested DVS 2207-1 values based upon an average of approximately 20°C ambient temperature. Always check these with the pipe manufacturer’s values and your approved Welding Procedure Specification (WPS).
| Wall Thickness (mm) | Bead Height (mm) | Heat Soak (s) | Max Changeover (s) | Cooling Time (min) |
| 4.5–7 | 1.0 | 45–70 | 5 | 6–10 |
| 7–12 | 1.5 | 70–120 | 5–6 | 10–16 |
| 12–19 | 2.0 | 120–190 | 6–8 | 16–24 |
| 19–26 | 2.5 | 190–260 | 8–10 | 24–32 |
| 26–37 | 3.0 | 260–370 | 10–12 | 32–45 |
| 37–50 | 3.5 | 370–500 | 12–16 | 45–60 |
| 50–70 | 4.0 | 500–700 | 16–20 | 60–80 |
For the 250 mm SDR 11 pipe used as an example, this translates to 24-32 minutes within the clamps. Upon removal of the clamps, allow the joint to rest for an extended period of time. Typically, there are additional wait times prior to rough handling or pulling of the pipe, and even longer wait times before conducting a hydrostatic test. The premature opening of the clamps is one of the most common shortcuts taken on-site which results in residual stresses developing in the joint and potentially leading to cracking at a later date.
Step-by-Step HDPE Pipe Butt Fusion Welding
Set-up and clean-up. Place the pipe into position by placing it onto rollers, install the appropriate size clamps for the job, and then clean the inside of both ends of the pipe using a clean, dry, lint-free cloth that has been dampened with isopropyl alcohol.Trim the ends of the pipe until there are continuous ribbons on both sides. Next, verify that the gap between the two faced ends is acceptable per the limits set forth by DVS (DVS permits up to approximately 0.3mm for smaller pipe sizes).Alignment. Keep High-Low Mismatch under 10% of Wall Thickness. Prior to Facing, Re-Round Oval Coiled Pipe.Place both ends of the bead on the plate at fusion pressure. Hold them in place until you have achieved the desired bead height.Heat soak. Drop the pressure to drag only and run the full soak time.
A changeover is required. Remove the plate from the pipe and seal the ends of the pipe within the allowable time. Be careful not to contact the melted surfaces.Once you have brought the system to the correct pressure for fusion, continue to maintain that pressure until the entire system has cooled.
FAQs
What is the correct temperature for HDPE butt fusion?
The use of 200–220 °C (under DVS 2207-1) or 400–450 °F (204–232 °C) (under ASTM F2620). Generally, thicker walls are processed at the low end of the temperature range. Surface pyrometers should be used each shift to verify the temperature on the plates rather than using the controller display.
How do you calculate butt fusion pressure for HDPE pipe?
To find the required gauge setting, take the required interfacial pressure and multiply it by the area of the annular portion of the pipe. Then, divide this product by the total area of all the cylinders in the machine. Finally, add the drag pressure that you have determined. This will give you the gauge setting.
How long does HDPE pipe need to cool after butt fusion?
Under ASTM F2620, cool the part using pressure for approximately 11 minutes per each inch of the wall’s thickness. DVS 2207-1 has a wall-thickness table with values that range from 6 to 10 minutes for thin-walled parts and 60 to 80 minutes for parts with 50 to 70 millimeter walls.
Can you butt fuse HDPE pipes with different SDRs?
In general, no. Butt fusion requires matching wall thicknesses so that each end is heated and melted uniformly. An electrofusion coupler or transition fitting would be better options for joining different size pipes. Many times PE80 and PE100 can be fused together provided that they have compatible melt flow rates; however, check with the pipe manufacturer before proceeding.
Is butt fusion stronger than electrofusion?
With either method, the joint produced is fully restrained and has the same strength as the pipe once it is made properly. When using butt fusion, it will be less expensive to use per joint for longer runs. Electrofusion would be better for making repairs or working in tight areas.
Can HDPE butt fusion be done in cold weather?
Yes, as long as the area being welded is protected against the effects of wind and moisture. Do not increase the temperature of the plate to help with the low temperature. Some procedures may allow for additional time to pre-heat when welding in colder environments; therefore, you should refer to your WPS.
Final Word
Reliable butt fusion of HDPE relies upon proper execution of each step in the process. First, ensure that the temperature of the plates is verified. Second, determine drag before each joint is made. Third, minimize change-over times. Finally, allow the clamping device to remain closed until after the cooling period has expired. Prior to beginning your next project, examine your equipment’s cylinder area, print out the parameter charts for the specific pipe size and SDR you will be working with and create a sample weld.