A pipe needs strong connections. Leaks usually start where pipes join. Adding a new pipe to an old water line used to be difficult. Workers had to cut the main pipe and add many parts. This took a long time and could make weak spots.
Now, we have integrated saddle fittings. They are one piece that connects a new pipe directly to an HDPE line. It works like a clamp that already has an opening for the new branch.
What Are Integrated Saddle Fittings?
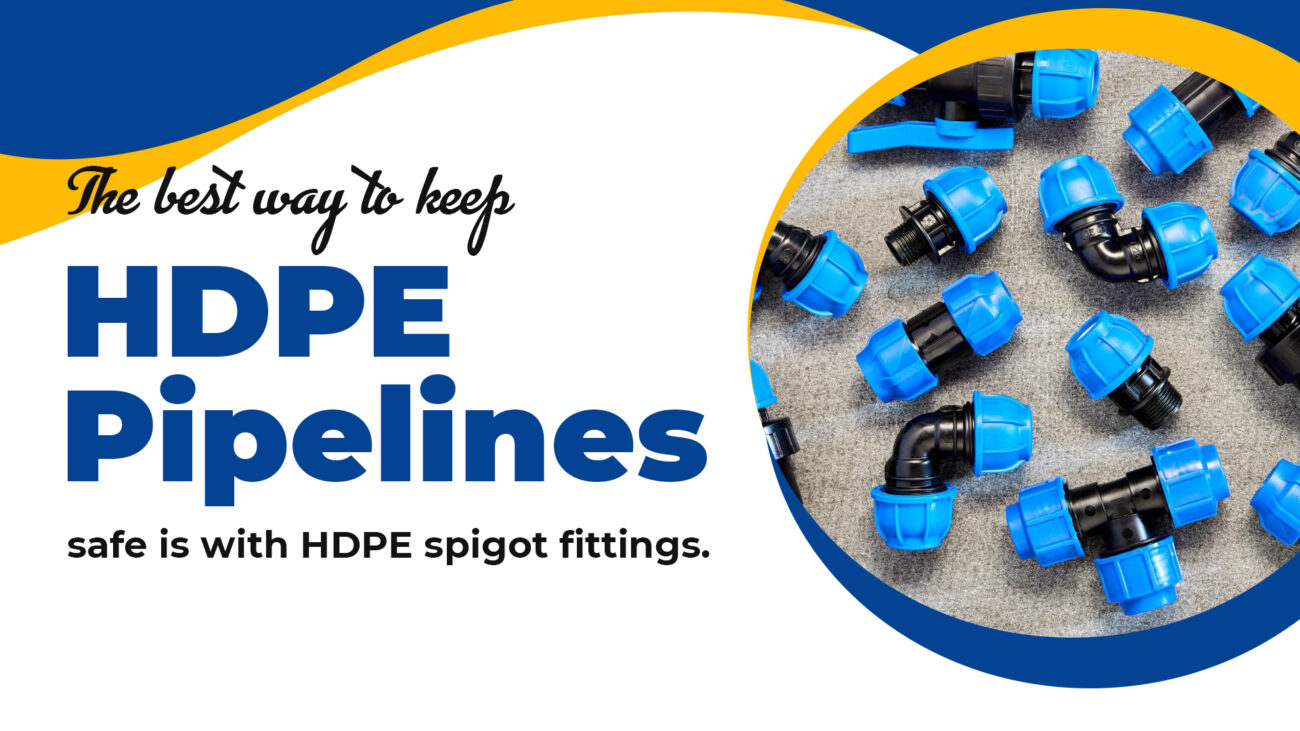
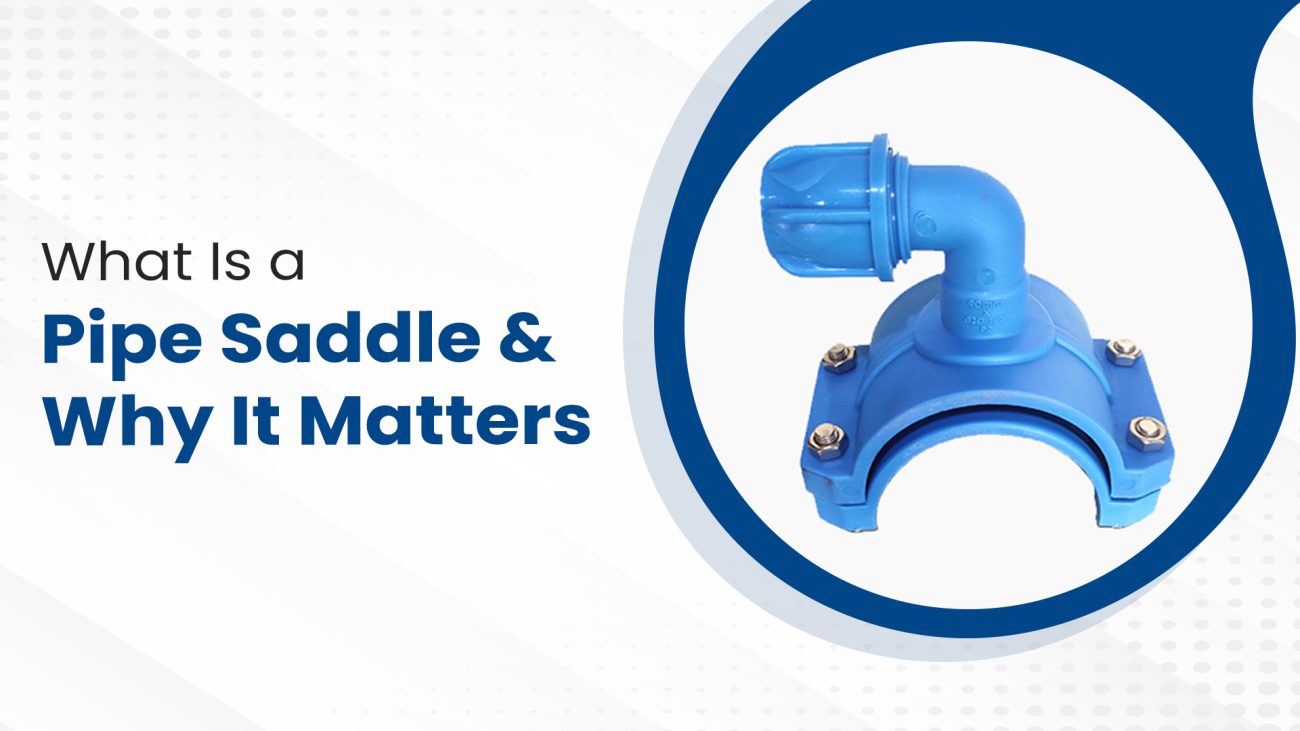
An integrated saddle fitting is a complete connection kit in one piece. Its purpose is to tap a new branch line into an existing plastic water pipe, most commonly made from HDPE fittings manufacturers.
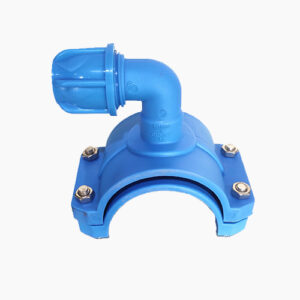
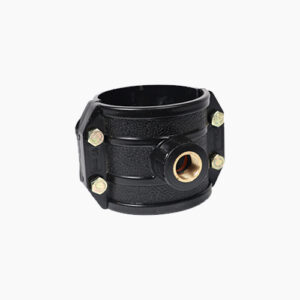
Let’s look at the parts. The main piece wraps around your pipe. It already has a new opening attached. This opening can be a short pipe piece for fusing or a threaded hole. A rubber seal keeps water in. Strong bolts then clamp it all together.
You use it instead of older, multi-part methods. Previously, you might need a separate saddle clamp and then a different outlet pipe fitting. The integrated design combines these functions. This simplifies the job.
- It eliminates the need for extra couplings or adapters.
It reduces the number of potential leak points.
The design ensures the outlet is perfectly aligned.
The result is a permanent, pressure-tight branch. Once installed, it becomes a fixed part of the piping system, allowing you to run a new line for a house, a sprinkler system, or another section of the network without cutting out a piece of the main.
Buy Now
Key Benefits of Integrated Saddles
These fittings are popular because they solve practical problems. Their design delivers clear advantages on the job site.
- The first benefit is strength. The assembly bolts around the main pipe, creating a powerful mechanical grip. This connection resists movement from water pressure or ground shifts, which prevents pull-out. The strong grip also protects the seal.
- Sealing is the second point. The integrated gasket system is compressed uniformly around the entire branch opening. This creates a leak-proof seal on both the main pipe and the new outlet simultaneously. You get a single, reliable seal from one action.
- Efficiency is another major advantage. Since the saddle and outlet are one piece, installation is streamlined. There are fewer parts to handle and no need to align separate components. This saves time and reduces error.
- They provide a restrained, permanent connection.
- They ensure a reliable seal in one step.
- They simplify work and reduce installation time.
Common Applications
Integrated saddles are used wherever a new, secure branch must be added to an existing pressurized pipe. They are a standard solution in several key fields.
- In municipal water systems, these fittings are essential. They allow workers to connect a new service line to a main distribution pipe without shutting down the entire network. This is how water is delivered from the street main to individual homes or buildings. They are also used to install fire hydrant leads and pressure monitoring points.
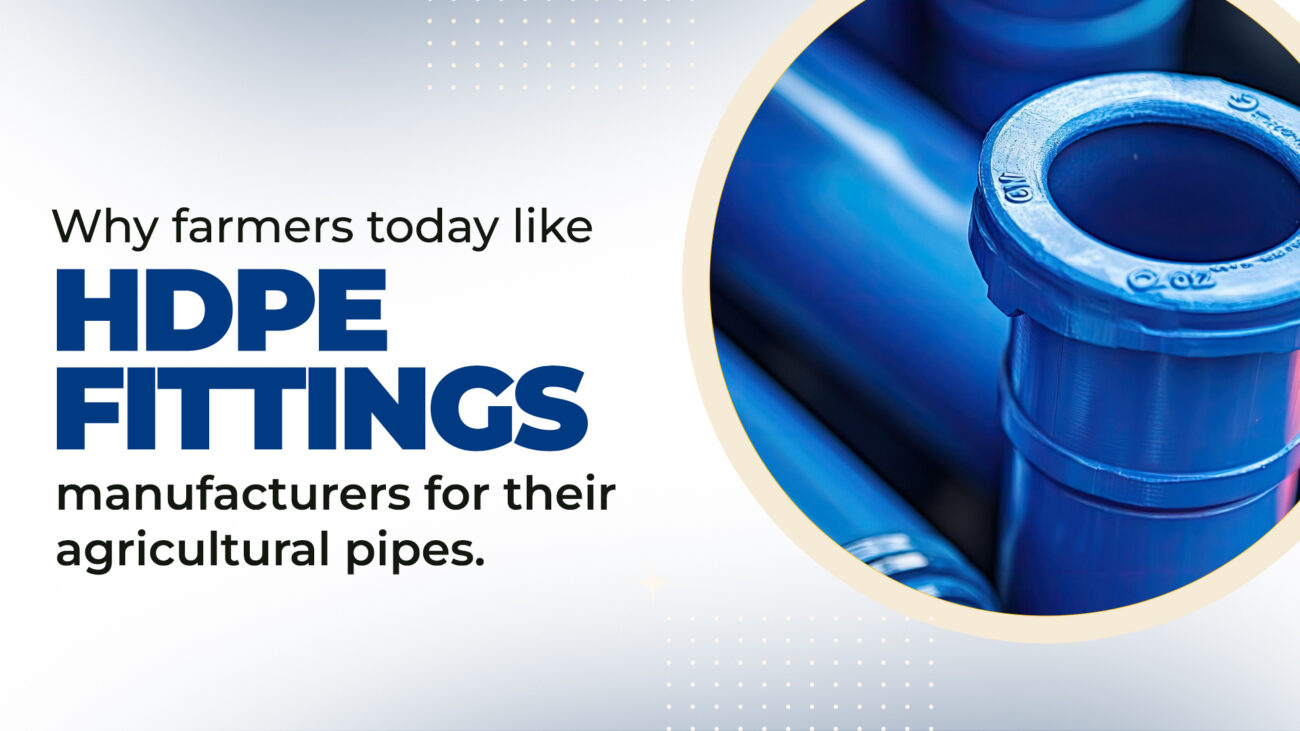
- Agricultural operations rely on them for irrigation. A farmer can tap into a main supply line to add a new zone for drip lines or sprinklers. This enables flexible field layouts and system expansions. The fitting’s resistance to movement is important in fields where equipment may cause ground shift.
- Industrial and commercial sites use them for similar reasons. They provide a reliable point to add a branch for a cooling line, a chemical process line, or a system flush valve.
- Connecting residential water service lines.
- Adding irrigation branches on farms.
- Installing auxiliary lines in industrial settings.
Step-by-Step Installation Basics
Doing the job right is the final step for a good connection. You must do the steps in order.
- First, get ready. Look at the main pipe. The spot for the saddle must be clean, dry, and smooth. Use a fitting that is the right size for your pipe.
- Next, position the saddle. Mark the exact point on the pipe for the new branch. Place the saddle halves around the pipe at this mark, ensuring they are straight. The integrated outlet should point in the precise direction needed for the new branch line.
- Now, assemble the components. Insert the provided bolts and hand-tighten the nuts. This holds everything in place for the final step.
- The most critical action is torquing. Use a calibrated torque wrench. Tighten the bolts in a star or cross pattern, a little at a time. Follow the manufacturer’s printed specification exactly until the proper torque is reached. Do not use an impact wrench or guess.
- Finally, make the branch connection. The integrated outlet is now ready. Connect your new branch pipe using the appropriate method.
- For a fused joint, use a butt or socket fusion machine.
- For a threaded outlet, use the right sealant on the threads. Turn it by hand first. Then finish tightening it with a wrench.
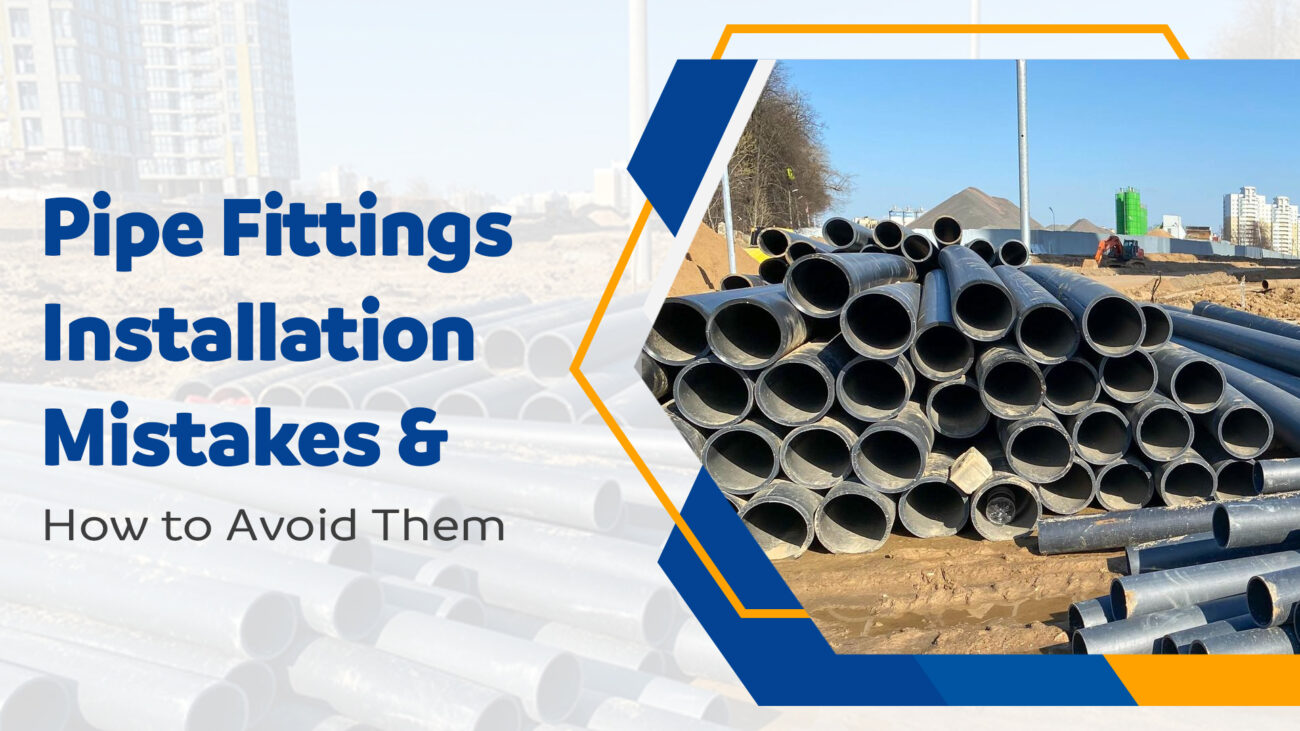
Frequent Installation Mistakes & How to Avoid Them
A good fitting can still fail if installed incorrectly. Knowing common errors helps prevent them.
- A frequent issue is improper drilling. For saddles that require a hole in the main pipe, using the wrong drill bit or not using the saddle itself as a guide will cause problems. The hole can be off-center or the wrong size. This damages the gasket’s ability to seal. Always use the manufacturer’s recommended drill bit and guide bushing.
- Incorrect torque application is a critical mistake. If you don’t tighten the bolts, it will leak. If you tighten them too much, you can break the fitting. It will damage the pipe or ruin the seal. There is only one right way to do this. You must use a torque wrench every single time. Follow the printed specification exactly.
- Poor alignment creates stress. If the saddle is crooked on the main pipe, or the branch pipe is forced to connect at a bad angle, the system is under constant strain. This strain can lead to a crack or leak over time. Take a moment to ensure everything is straight before final tightening.
- Neglecting surface preparation is another oversight. Dirt, mud, or moisture on the pipe will prevent a proper seal. The gasket cannot adhere correctly. Always clean and dry the pipe surface thoroughly before assembly.
- Finally, ignoring the instructions is a major risk. Each fitting has specific requirements for tools, sequence, and conditions.
- Drill accurately with the right tools.
- Tighten with a torque wrench to the exact value.
- Check alignment before finalizing.
- Clean the pipe surface completely.
- Follow the provided instructions without deviation.
Conclusion
Integrated saddle fittings offer a reliable method for adding branch connections. Their design combines strength, a dependable seal, and installation efficiency.
Success depends on correct use. Selecting the proper fitting and following each installation step is essential. Stop most problems before they start. Avoid mistakes like uneven tightening or crooked placement.
These fittings are useful tools. They help change water, farm, and factory pipe systems. If you install them correctly, they last a long time. They keep the whole pipe network strong.
Always check the maker’s guide first. Use it for your specific job.