

High density polyethylene (HDPE) pipes are gaining immense attention and popularity and have significantly more advantages and mechanisms than steel or iron in every water supply and drainage system with a flexible form construction like pipes of almost no steel or iron and metal pipes weak mechanisms do typically slowly deteriorate within time.
HDPE pipes having their extreme tensile strength, are extremely flexible too which enhances their installation in tight areas and around corners. This flexibility can not only help in reducing time and costs but also the need for extensive excavation during the installation. Moreover, as mentioned earlier, HDPE pipes have a smooth surface, in this case the inside of the pipe, which cuts friction and increases water flow. This can lead to lower water pressure loss and increases the efficiency.
One more advantage of using HDPE pipes is their antimicrobial properties. This feature is very relevant for drinking water systems, as it has a role in keeping harmful bacteria at bay and protects the safety of the water supply. HDPE pipes are also harmless to health and do not leach any chemicals into the water which makes them safe for home use.
This guide will outline for you the steps that you need to follow while installing HDPE pipes in your home plumbing system. If you adhere to these instructions we will explain below, you should be able to take on this task yourself or get a professional plumber to execute this task for you without any hesitance.
Tools and Materials Needed
Make sure you have everything ready before heading off to install the system. The following tools and materials should be ready:
- Pipes and fittings – HDPE: These pipes and fittings must be bought in different sizes appropriate for the plumbing job requirement. Keep water pressure and flow rate in mind as well as any other specifics about your use.
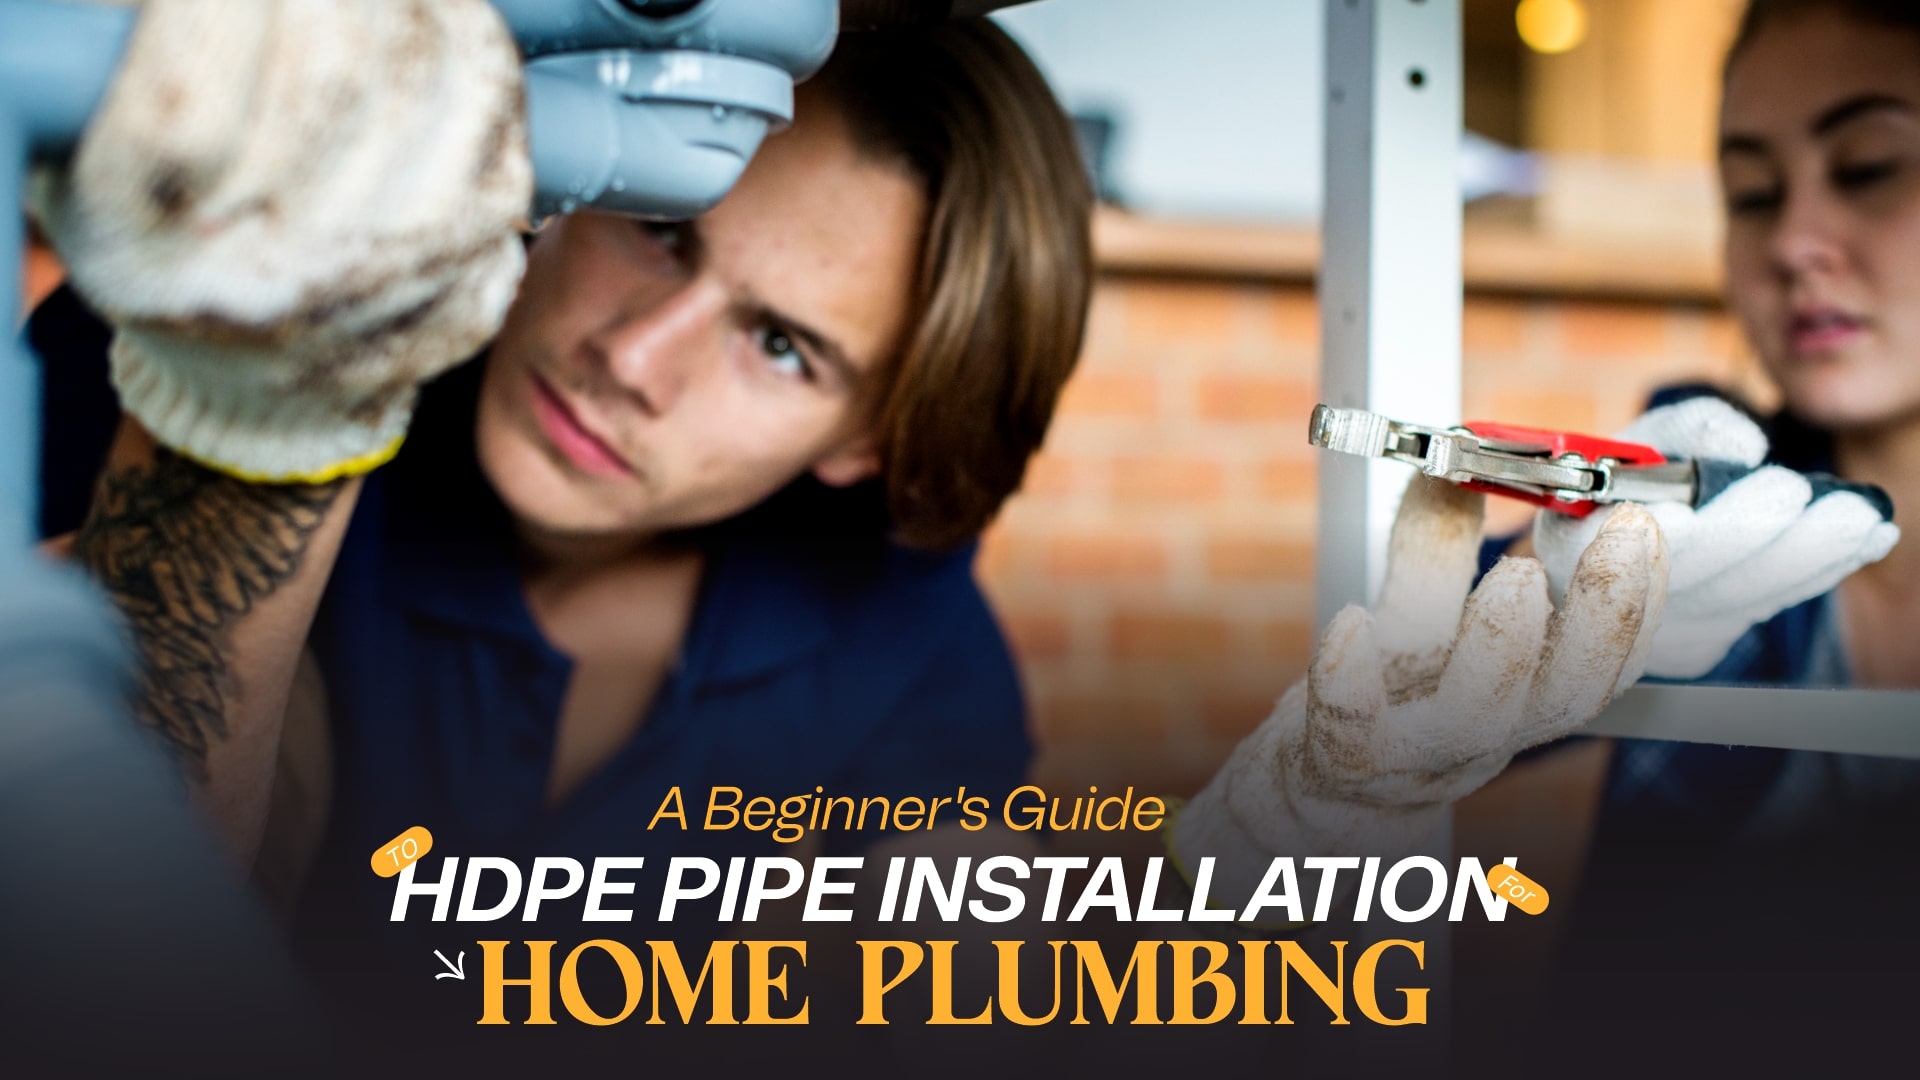
- Pipe cutter: It is very important to rely on a high-quality pipe cutter as it will help cut the pipe evenly and cleanly, hence making sure that the likelihood of leaks and bad cuts is minimized.
- Reamer: In the case of water pipes, reaming is done to take burrs off cut ends of the pipes to avoid leaking and disregard when water is passing.
- Heat fusion machine: The heat fusion machine is one of the most important tools as it is used for joining pipes by melting the ends and fitting them.
- Primer: The stirrer is important because it is painted on the ends of exposed pipes before they are joined to make them strong and prevent the likelihood of any leakages.
- Clamps: Clamps are inserted to hold the pipes and their fittings in position as they are being heated or cooled.
- Screwdriver: There is also a need to apply a screwdriver to tighten any fittings or clamps that need to be held in place.
Preparation and Planning
It goes without saying that a project must be thoroughly planned before telling it to installation. Such includes:
- Understanding Your Plumbing System: To adequately plan where you need to place your HDPE pipes, it is important to know your existing plumbing system. Take note of the water pressure, flow rate, and the requirements for the application.
- Measurement and planning of pipes and their arrangement in the building: Ascertain the distances connecting parts which need to be interlinked by the pipes. Plan an arrangement that would cause the least number of bends and turns. Check for walls, floors, and other constraints that may interfere with the routing of the pipes.
- Get all the Necessary Permits and Approvals: In case one intends to make alterations in the way the plumbing has been done, an approval or a permit may be required by the local building office. This will make it easy to ensure that the project is done within the legal framework and meets the set safety requirements.
Installation Steps
- Cutting HDPE Pipes: The length of the pipes can be cut with a pipe cutter to the desired transmission of the required length. Cuts should be square, clean, and should be made with the intention of preventing any chances of leakage as well as reducing risks of damaging the pipe.
- Reaming the Cut Ends: After cutting the pipes, removing any burrs using a reamer tool is recommended. This is important as it reduces chances of leaks and assures smooth flow of water.
- Applying Primer: Attach the caps on the pipe ends and fitting pieces, applying the primer as earlier specified from the manufacturer. This is necessary as it assures a tighter join between the pipes and the fittings, blocking chances of leaks.
- Heating and Attaching Fittings to Pipes: Switch on the heat fusing machine and put the ends of the prepared pipes in the heater elements. Please secure the pipes until complete heating and fusing is achieved. Ensure that the two ends are well oriented and pressed together to make a perfect join.
- Clamping the Joints: After fusion of the pipes, it is recommended that clamps be used to hold the pipes in the position they were joined and retain that position until perfectly cool. This is done to ensure the joints made are correct to avoid leaks.
- Testing for Leaks: When the joints have become cold, couple the pipes and rotate on the water. Check the connection closely to determine if there are any leaks. If there are some already, first tighten the joints or reheat the joints if possible.
Tips for Successful Installation
- Correct Pipe Placement and Stress: Since leaking occurs with the bending of pipes, ensure that the pipes are correctly aligned during the installation. Also, use supports for the pipes to prevent stressing and potential leaks.
- Ensure that the High-Quality and Original HDPE Fittings are Used: For best quality and durable connections, use HDPE fittings that are of high quality. Avoid low-quality or fake fittings that may have negative ramifications.
- Similar Installation Techniques: When using specific HDPE pipes and fittings, be familiar with their manufacturers. This will ensure that correct installation techniques are applied and avoid possible installation problems.
- Always Conduct Leak Testing: Following the installation process, check for any leaks and, if any exist, deal with the problem. This will assist in minimising water damage and the plumbing system’s integrity.
- Employ a Plumber for More Complicated Work: If you are not confident in your plumbing skills or think that the project entails a lot of engineering changes, you may want to call in a plumber. A professional plumber knows the right procedures for effective and safe installation.
Home plumbing with HDPE pipes can be an interesting DIY project. These installations are easy if you follow these instructions, use the right tools and materials, and make sure to maintain the correct fittings. Always verify that there are no leaks and the plumbing system is maintained for long-term effectiveness.